

GROW GOURMET MUSHROOMS AT HOME
Mushroom grow kit step-by-step guides
Our mushroom grow kits make it incredibly easy, fun and satisfying to grow your own gourmet mushrooms at home. Follow our 6 step process and harvest your first delicious cluster of mushrooms in as little as 2 weeks!
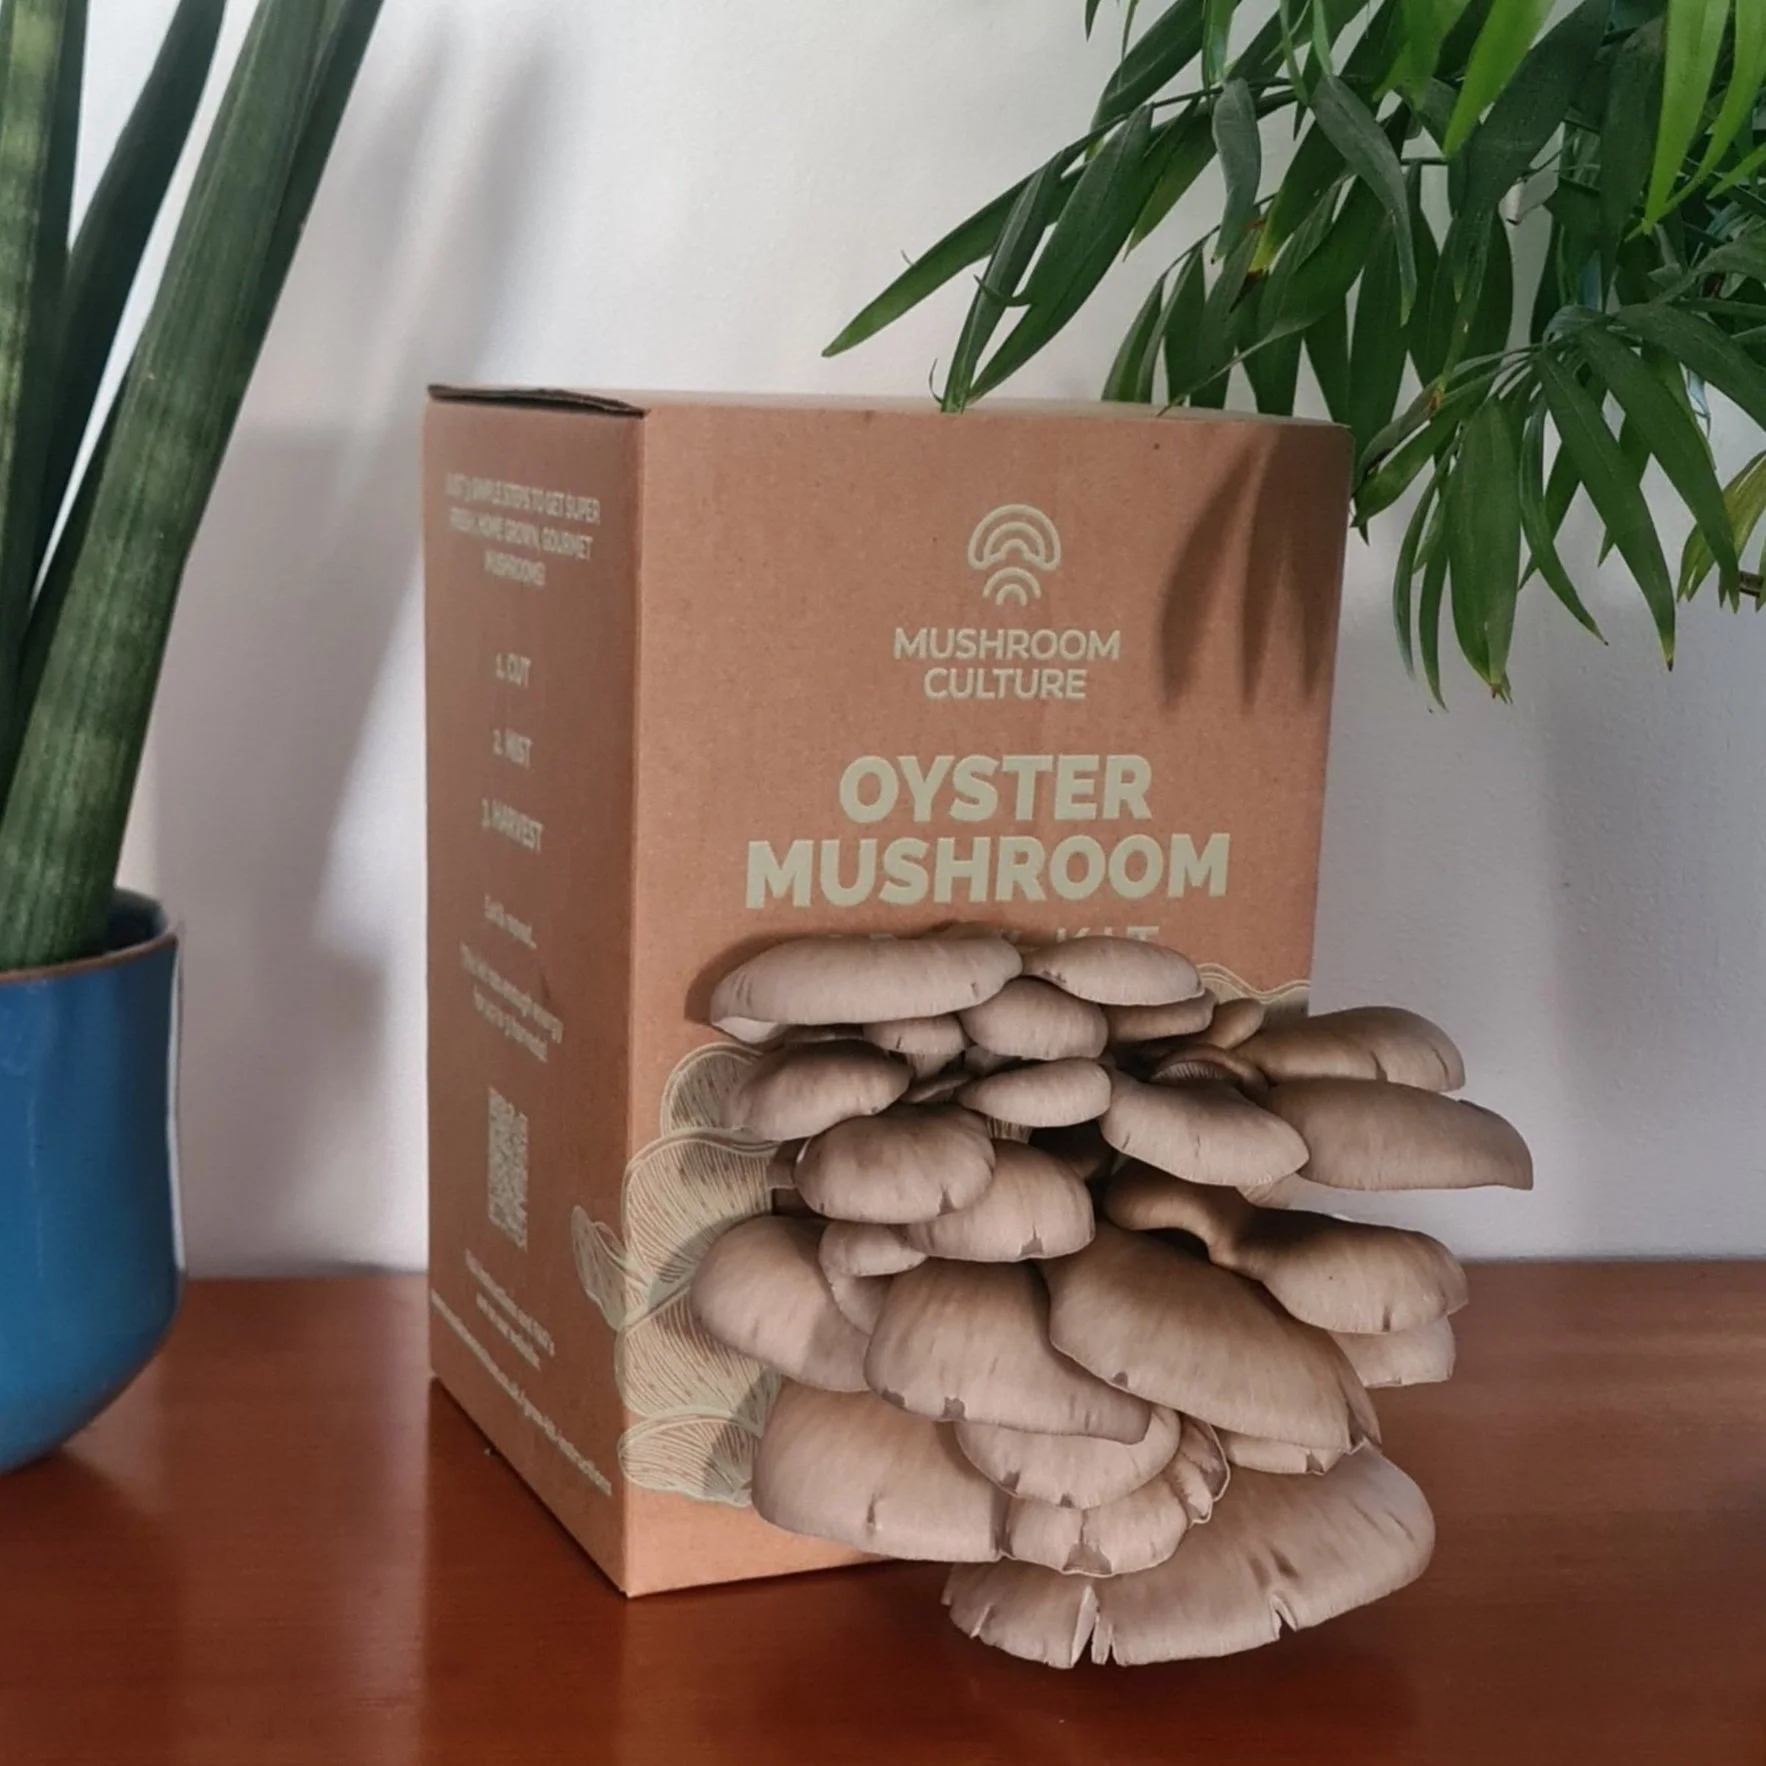

You don’t have one of our grow kits yet? Check them out in our shop!