


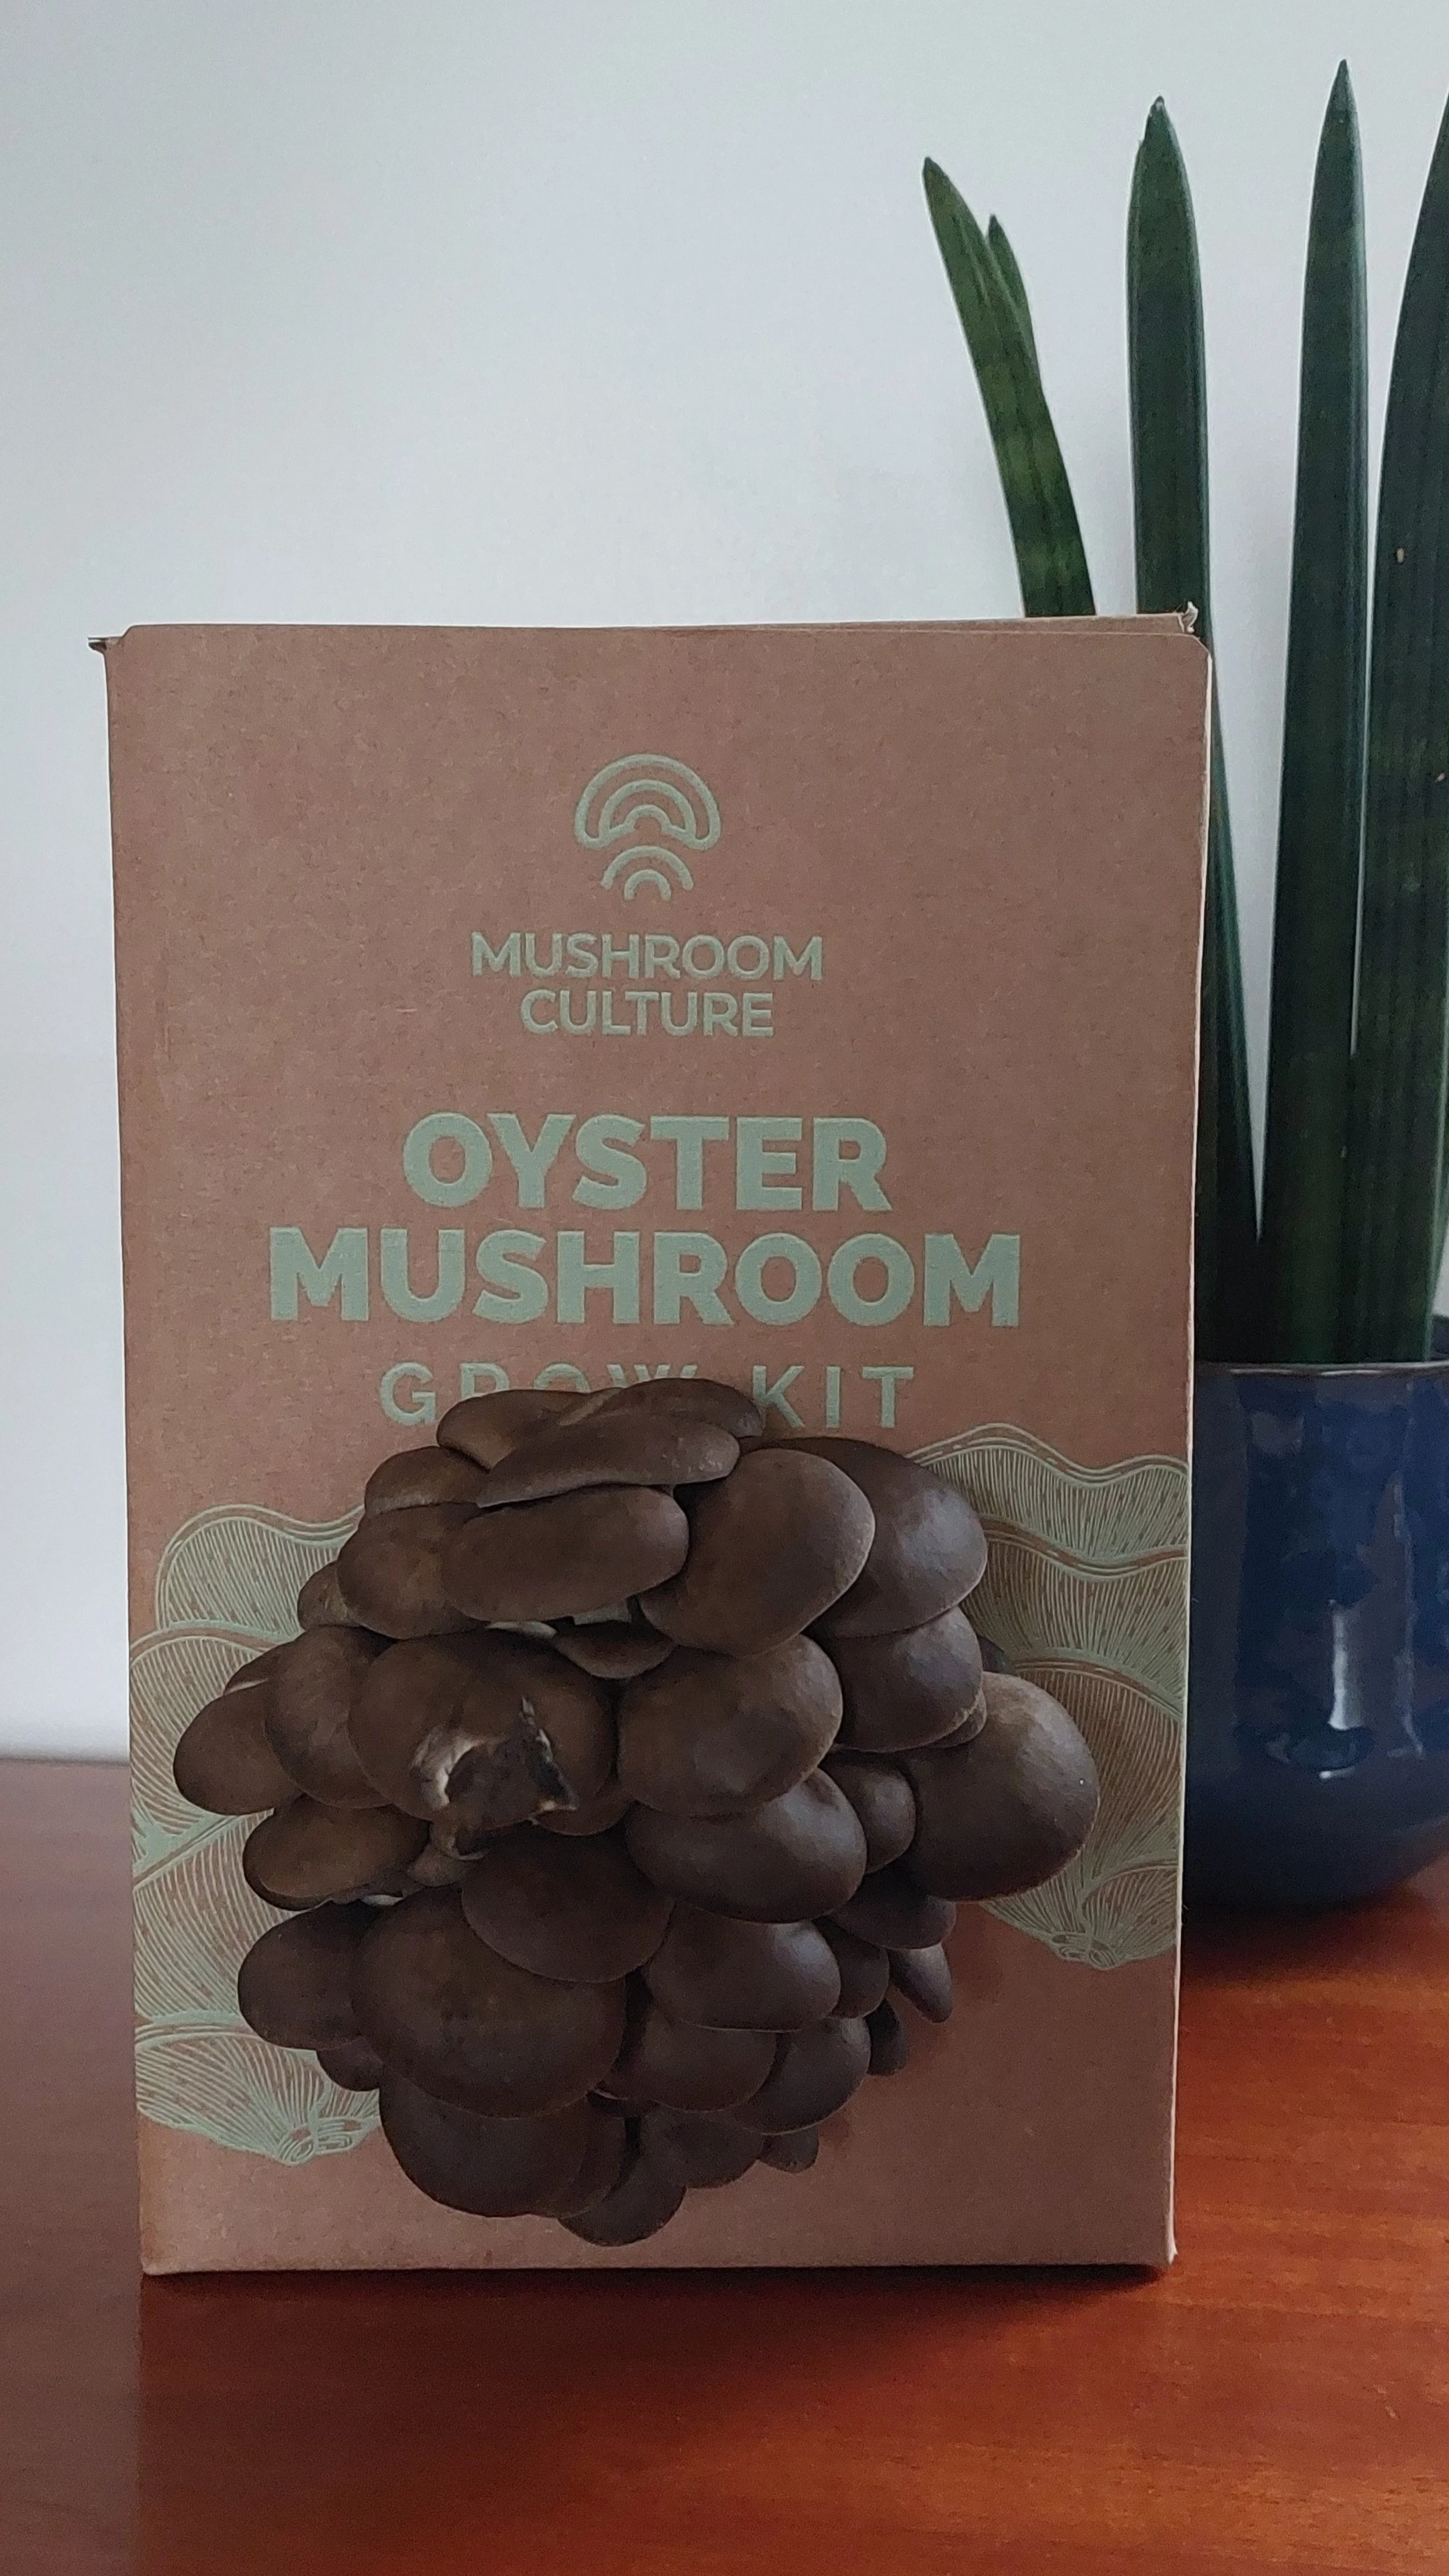
HOW TO GROW OYSTER MUSHROOMS AT HOME
Our Oyster Mushroom Grow Kits make it incredibly easy, fun and satisfying to grow your own gourmet mushrooms at home. Follow our 6 step process and harvest your first delicious cluster of mushrooms in as little as 2 weeks!
(Scroll to the bottom for our favourite recipes!)
Step 1 - Location
In order to get the best out of your mushroom kit, you will need to re-create the optimum conditions for mushrooms to grow. Mushrooms thrive at room temperature (10-23°C) with high humidity as well as sufficient light and air flow. Luckily, this is pretty easy to achieve!
We recommend placing your grow kit on a kitchen counter or window sill.
Be sure that the grow area is not exposed to direct sun light or placed above a radiator as this will dry out the grow kit. If placing on a window sill, be sure that the grow area is facing into the room.

Step 2 - Creating the Conditions
In nature, mushrooms will fruit (grow) when they have the right level of oxygen and humidity.
Firstly, open the cardboard window on the front of the grow kit by pulling off the tab. (Do not remove the grow block from the cardboard box)
Next, using a clean knife, cut an ‘X’ into the plastic from one side of the window to the other. Don’t worry if you cut into the substrate a little, this can actually help the mushrooms grow!
Now that you’ve exposed the substrate to oxygen, it’s time to create the humidity! Simply mist the grow area once a day. ~4 pushes on the spray bottle each time is about right - if it is in a warm area, more moisture may be required. It is important not to soak the area and there is no need to peel back the plastic.


Step 3 - Mushroom Care
After 7 - 10 days, your mushrooms will start to grow. This is called pinning. Within another 7 days, your mushrooms will grow from tiny bumps on the surface to a full cluster of delicious mushrooms!
It is important to not let the mushrooms dry out at this stage. Keep misting the mushrooms 2 - 3 times a day and enjoy watching them grow.
These photos of one of our grow kits were taken at 24 hour intervals - once they start, they grow quickly so it’s important to keep an eye on them.!


Step 4 - Harvest
Your mushrooms have been busy growing and you’re wondering when they’re ready to harvest. The optimum time to harvest your mushrooms is when the caps begin the flatten out (just like this photo).
Ideally, you want to harvest your mushrooms before they begin to release many spores. This will happen when the caps have fully flattened or lifted up and a white dusting of spores can appear on the surface below. Don’t worry if the mushrooms have reached this stage! They are still perfectly edible and the spores can be wiped away.
The mushrooms should be harvested as a cluster (rather than individually). Gently but firmly hold the mushrooms at the base and twist until they pop away from the block. Alternatively, use a knife to cut the cluster at the base. Congrats - you now have a super fresh, delicious cluster of gourmet mushrooms to enjoy!

Step 5 - Repeat for more mushrooms!
The fun is not over - the kit should have enough energy for 2 more harvests!
Simply ‘clean’ the grow area by removing any small mushrooms or loose material. Then repeat the process by misting the grow area regularly.
With each round of harvest, it can take longer for the pinning stage to begin. A trick to speed this up is to place the kit in the fridge for 12 hours. The cold shock can encourage the kit to pin again (the mushrooms think winter is coming so they are running out of time to grow).
It also won’t hurt to be a little more generous with the level of moisture provided for the 2nd and 3rd flushes as the kit uses up some of its own moisture in producing mushrooms.

Step 6 - Disposing the Kit
Your kit has ran out of energy and finished growing mushrooms. To dispose of the kit, the carboard can be recycled and the plastic bag placed in general waste.
The substrate block can be composted or used directly in the garden or in potted plants as a soil improver. Crumble around plants or mix into compost to provide them with an extra boost of fungi.
You could even mix the substrate block with woodchips and you are likely to get additional mushrooms growing as they enjoy this extra food source. We like to add this substrate / woodchip mix around newly planted trees or hedgerows on the farm as it helps to retain moisture.


Oyster Mushroom Recipes
Oyster mushrooms are an incredibly versatile mushroom. They have a mild and subtle flavour (we think they are slightly nutty) and a meaty texture, making them a great ingredient to many dishes! These are our favourite go-to oyster mushroom recipes:
We love to simply fry our oyster mushrooms with garlic, thyme and a squeeze of lemon - delicious on a piece of sourdough toast! It’s important to release the water from the mushrooms so they become crispy. Begin by frying them in as little oil as possible and avoid overcrowding the pan. Once they’ve released their water and are starting to crisp up, add a good splash of oil and the other ingredients. You can also level up this dish with this delicious mushroom garlic confit recipe.
Another favourite of ours is this creamy mushroom pasta recipe. It’s quick, comforting and really brings out the flavour of the oyster mushrooms. We often sub out the cream for crème fraiche or cream cheese.
Oyster mushrooms are also amazing in stir-fries and they pair perfectly with garlic and soy sauce. We love this Crispy Tofu, Ginger and Oyster Mushroom Stir-Fry Recipe.
We hope you enjoyed your oyster mushroom grow kit! If you have any further questions, check out our FAQ section or fill in the contact form below.
Please tag us in your grow kit photos on Instagram and Facebook or send them to us in an e-mail - we love seeing our mushrooms thriving out there!
Frequently Asked Questions
-
For optimum mushroom yields, it is best to start the kit when you receive it. If you don’t want to start the kit immediately, they can be stored in the fridge or a cold shed. We have grown kits that were stored in the fridge for 4 months with no issues, although we recommend starting them within 1 month for best results.
Pink oyster kits can NOT be stored in the fridge as its too cold for them! Store pink oysters around 10C, if not starting immediately.
-
The Oyster mushroom kits will take around 2 weeks to produce the first flush of mushrooms. This can vary depending on the temperature, humidity and which variety of Oyster mushroom grow kit.
The 2nd and 3rd flushes will take a bit longer, so a bit of patience is needed!
-
Our grow kits normally last for about 2-3 harvests, although we have heard feedback of a 4th harvest!
-
Ideally you would spray the mushroom grow kit twice a day (around 5 squeezes on the spray bottle each time) but there are bound to be some days where this isn’t possible. We have tested lots of the kits in our home and sometimes forget or are away for a night or two – as long as you keep spraying consistently mushrooms will grow! Yields may be reduced if the mushrooms don’t get adequate moisture but you should still get mushrooms.
Contact us.
If you have any further questions or queries, please feel free to get in touch!